Step 1 - Verify that the thermostat is working before you add it to the Z-Wave network
Step 2 - Add the thermostat into the Z-Wave network
Step 3. Create a scene to allow you to control the thermostat from your phone
Step 3.1. Using your browser, log in to Vera and make sure the device was added OK. Test the manual controls first.
Go to DEVICES | Climate | Thermostat and click on "Heat". See the example screen shot below.

The small banner on the bottom should say "Transmit was ok", and a green circle will appear to the left of the device name, indicating the device is ON. See example screen shot below.
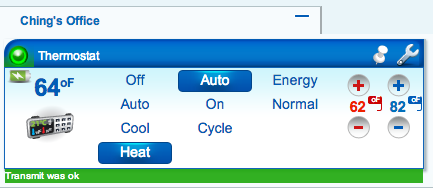
The furnace should switch on after 10 seconds or so.
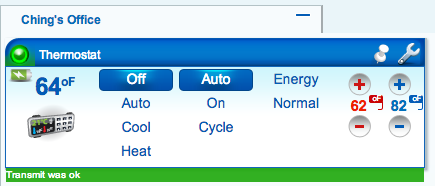
Step 3.2. Go ahead and click on Off. You should see a similar "Transmit was ok" message, and the furnace should switch on after about 10 seconds.
The screen show below shows you what it looks like when you turn it off.
Step 3.3. Go to AUTOMATION | New Scene and call your new scene "Heat On".
On the Thermostat device, click on "Heat" (see below). Next, click on "Confirm changes". Then click "Save".

Step 3.4. Go to AUTOMATION | New Scene and call this new scene "Heat Off".
On the Thermostat device, click "Off". Click "Confirm changes" and "Save". See example below:

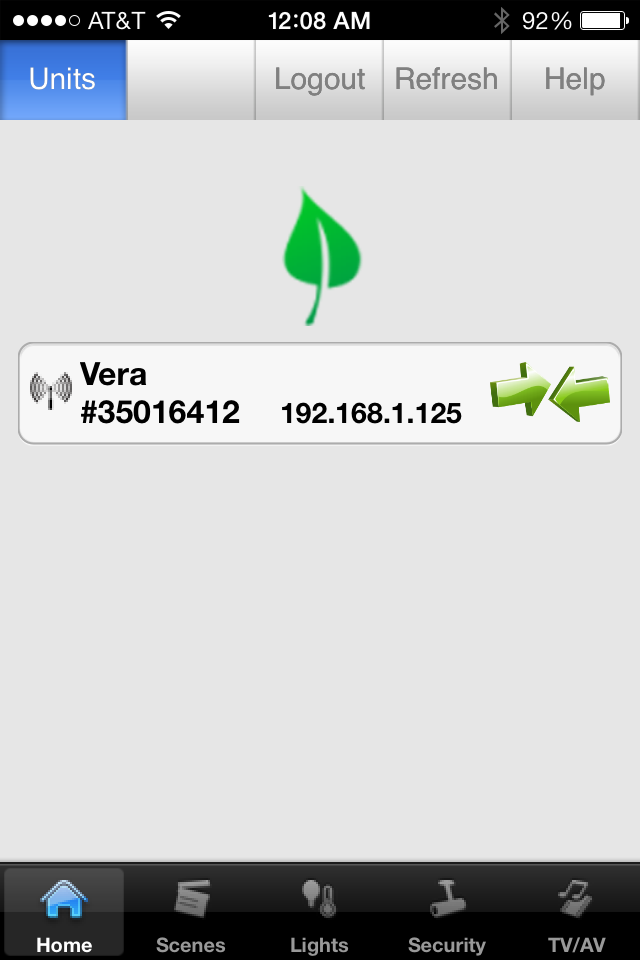
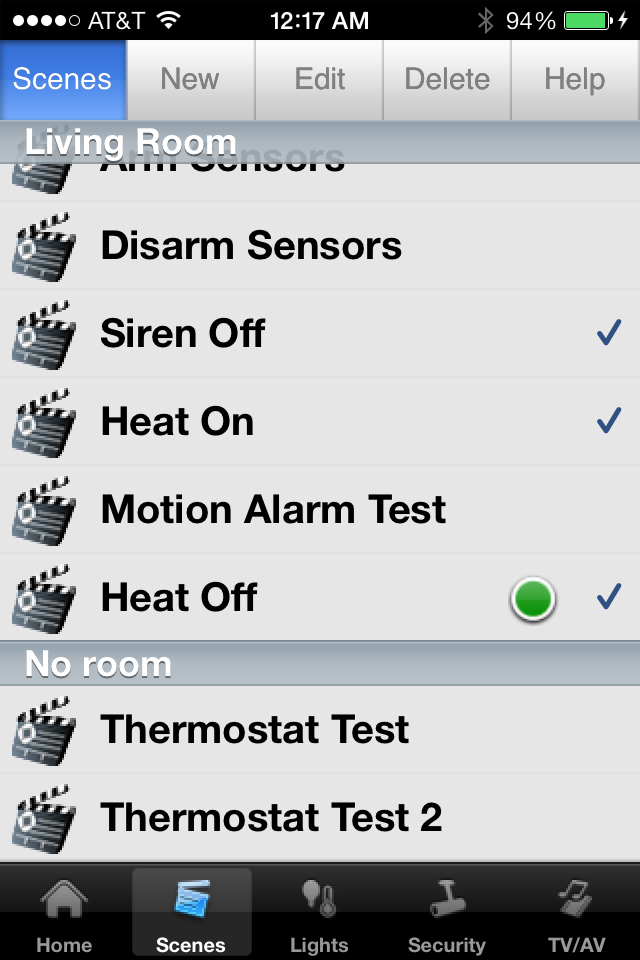
Step 3.5. Go ahead and test the scenes! Bring up the Vera Mobile app on your iPhone, log in to your Vera, click on the Scenes tab, and click "Heat On".
A green circle will appear beside Heat On, and the furnace should switch on in about 10 seconds. See example below:
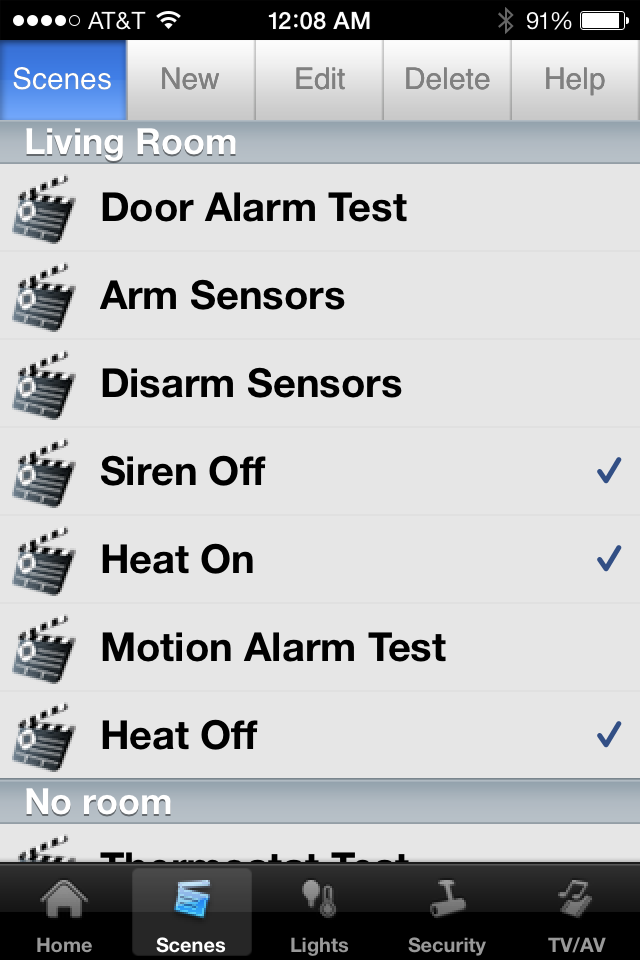

Step 3.6. Click on "Heat Off" will switch your furnace off.
That's it for Step 3! You can now control your wall furnace from anywhere - warming up your house when you are ready to head home, or turning the heat on during a cold morning while under warm covers in bed.
Did you find this useful? Have any tips to share? Please leave a comment below.
Review the introduction, Step 1, or Step 2.
No comments:
Post a Comment